Time To Make Some Signs
Work has begun on the three suite signs, and they are already looking fine. We create them using a variety of tools and materials. Some of the preliminary tasks are done by high-tech robots — specifically, our CNC routers and CNC plasma cutters. We design the cutting files on a computer and then send them to the machines. We load the tables with materials and let the automated tools do the heavy lifting.
But the signs are far from finished when the robots are done. We have many components that need to be assembled, detailed, and painted by hand. Along the way, we do a lot of hand sculpting and carving to create these one-of-a-kind dimensional signs. It takes a lot of skill and practice to get the look we desire.
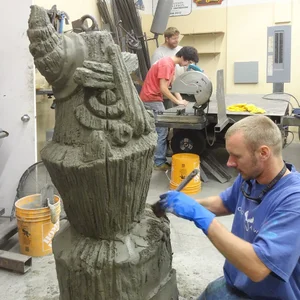
The sign below is for the Copper Crown. Once the basic shape is routed, the real work begins. Jeff is using an air-powered die grinder for final shaping and to add texture. When he is finished, we will handcraft the end curls on the scroll with welded steel and sculpting epoxy.

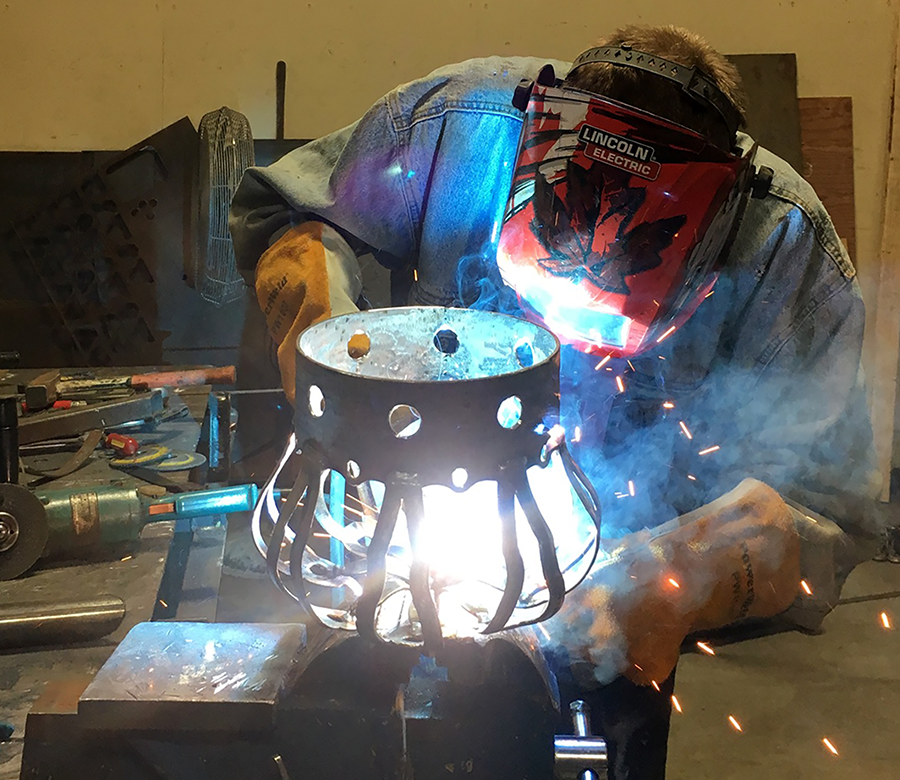
While Jeff is working on the sign’s scroll, I’m busy making the crown. I cut the many pieces on the CNC plasma cutter and then hand-shaped them using rollers, benders, and an old-fashioned hammer. Once the components are the right shape, I welded all of the pieces together.
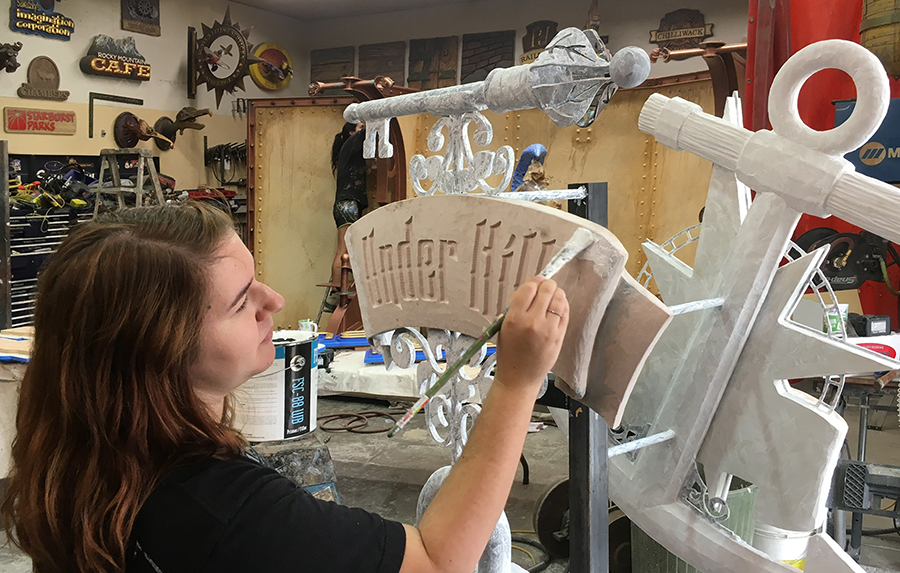
In the other room of our shop, Hailey is busy adding texture to the Under Hill sign. I have already assembled the pieces, hand-shaped the elements, and welded up all of the steel components.
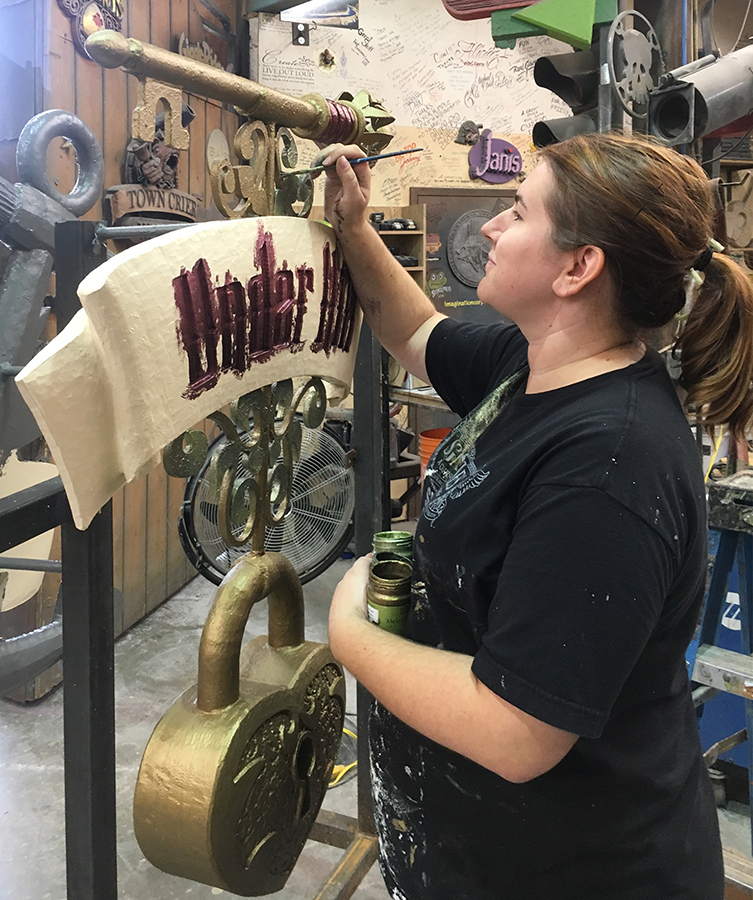
Once the primer is dry, it is time to begin applying the base coats of paint — a minimum of three over every square inch of surface. As she applies the last base coat, she also starts blending the colours.
The North Star sign is well underway, too, but we’ll save those pictures for another time. Stay tuned…